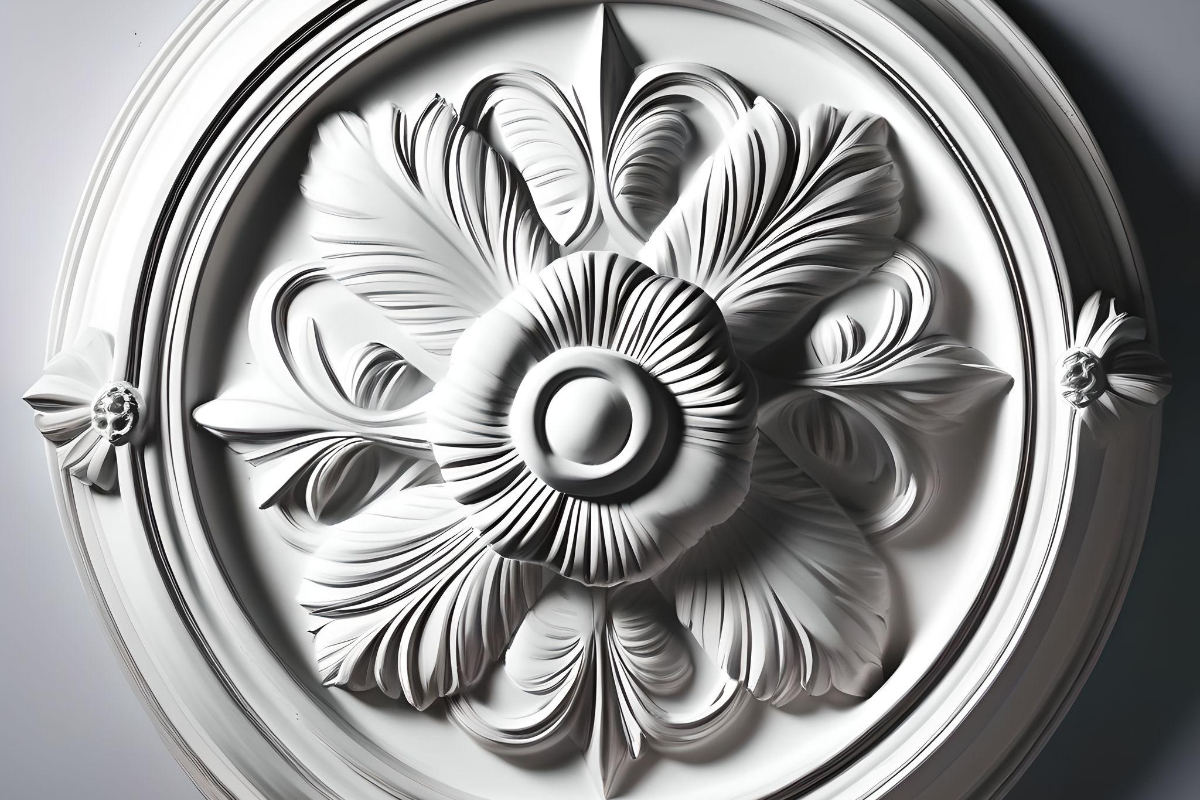
Any room can be elevated from ordinary to remarkable with a ceiling rose. Plaster Ceiling Rose offers a classic appeal, making it a good option for those who want to upgrade their home’s visual aesthetic.
The installation of a plaster ceiling rise is detailed in this article, along with advice on giving the job a professional touch. This guide is perfect for a homeowner wishing to improve your living space or a DIY enthusiast.
Materials You Will Need
Ensure you have everything you need for the installation before you begin. The things you will need include:
- Plaster ceiling rose
- Plasterboard adhesive or any suitable ones
- Utility knife
- Measuring tape
- Pencil
- Sandpaper
- Paint
- Ladder or step stool
Step-by-Step Guide for Plaster Ceiling Rose Installation
The installation process can begin once you have prepared all the necessary items. Here’s how to start:
Ceiling Preparation
To properly position, attach, and secure the ornamental element of a plaster ceiling rose, several systematic processes must be taken to prepare the ceiling.
Measure The Ceiling
The first thing to do before installing a plaster ceiling rose is to take precise measurements of the ceiling. This process will guarantee that the ornamental fitting is placed and aligned correctly.
Finding the exact center location where the ceiling rose will be installed is the first step in taking precise measurements of the ceiling. To achieve symmetrical placement, measure the distance from the center point to each wall using a measuring tape. Make sure the measurements are identical. Think about how any ceiling fans or light fixtures might impact the location.
Verifying the dimensions before moving on is crucial to getting the plaster ceiling rose in the right spot.
Mark The Center Point
Identifying and marking the ceiling’s center point is essential for adequately aligning and installing the plaster ceiling rose in the allotted area. To do this, use a measuring tape to locate the middle of each wall, and then mark that spot with a pencil.
The next step is to use a laser level or chalk line to draw two lines intersecting at these midpoints. You may find the meeting point in the exact middle of the ceiling. Verify the measurements twice to be sure.
Then, mark the precise location using a tiny nail or tack when you’ve found the center. If you follow this procedure, you can be sure that your plaster ceiling rose will be ideally positioned while yet maintaining symmetry.
Cut Out The Hole
The plaster ceiling rose will fit snugly and blend in with the ceiling, ideally after the hole is cut out. Thoroughness and accuracy are necessary for this procedure. The hole size that needs to be made can be precisely calculated by measuring the diameter of the ceiling rising.
You can mark the exact location of the ceiling rose with a pencil for a neat and accurate opening. Then, drill a tiny pilot hole inside the circle you just made; this will serve as the saw’s starting point. Avoid splintering the ceiling material by keeping the saw level and using smooth, controlled movements while cutting the hole.
After cutting the hole, sand down any rough edges and test fit the ceiling rose before fastening it.
Create a Support Structure
For the plaster ceiling rose to be securely attached and remain stable over time in the ceiling space, a robust support system must be established.
Placing a metal or wooden brace between the ceiling joists is a typical way to add support. The plaster ceiling rose rests on this brace, which distributes its weight and protects the ceiling from damage.
To make it even more stable, you can attach the rose to the bracing with screws or construction adhesive. Measuring and cutting the brace according to the rose’s proportions is essential for a snug and secure fit. To successfully install this DIY method, you must pay close attention to detail and be precise.
Plaster Ceiling Rose Fitting and Placement
If you want your plaster ceiling rose to blend in, you must be careful when attaching, placing, and securing the ornamental fitting.
Put on Glue
A careful application of adhesive to the back of the plaster ceiling rose is necessary to provide a secure attachment to the ceiling. For this procedure to work, a strong adhesive like construction or polyurethane glue is usually used to ensure the bond remains. It is critical to clear any dust or dirt from the ceiling surface and the back of the plaster ceiling rose before applying the glue.
After placing the adhesive, carefully place the plaster ceiling rose, ensuring it is level and centered. Following the manufacturer’s instructions, gently press the plaster ceiling rose firmly into place while the adhesive sets. The plaster ceiling will be expertly and firmly installed using this procedure.
Position The Ceiling Rose
If you want your plaster ceiling rose to look balanced and attractive, you need to position it correctly inside the specified ceiling space. Find the exact middle of the ceiling and use that spot as your installation’s starting point. To ascertain the precise location, measure the room and the ceiling rose.
Make sure the rose will line up with any existing light fixtures by using a pencil to mark the spots where it will be attached. After applying a strong adhesive to the back of the rose, carefully press it onto the ceiling and hold it there for a few minutes to let the glue dry. This step will secure the rose.
Then, line the plaster ceiling rose parallel to the room’s characteristics while considering any decorative patterns to achieve a visually beautiful outcome.
Secure The Ceiling Rose
There are specific ways and procedures for fastening the plaster ceiling rose into place that will guarantee the ornamental fixture’s stability and longevity in the ceiling. Assessing the ceiling material is the first step in building a plaster ceiling rose.
This process will help figure out what equipment is required for the task. Remember that various surfaces could necessitate varying degrees of securement. A drill, screws, and an adhesive with good holding power are some of the most typical items that could be required.
Please ensure the plaster ceiling rose’s attachment points align with the ceiling’s structural elements when you attach it. There will be plenty of support for the installation from this. Using screws or hooks that are appropriate for the ceiling material is also crucial. A safe and long-lasting installation can be assured by doing this.
If you follow these instructions, your ceiling will look better for longer and be more stable.
Finishing Touches
Putting the final touches on a plaster ceiling meant paying close attention to detail and precision to look more ornamental and beautiful.
To accomplish this, use fine-grit sandpaper to smooth off any rough edges or irregularities delicately. Also, ensure the paint sticks evenly after the surface is smooth by applying a primer made for plaster.
Selecting high-quality paint in a hue that harmonizes with the room’s furnishings is critical. To bring out the ceiling rose’s complex intricacies, use a small, angled paintbrush and a steady hand for accurate application. Use metallic or pearlescent paint to highlight the intricate details for a lavish look.
To achieve a professional sheen after the paint has dried, gently buff it with a soft cloth.
Elevate Your Home Decor
An elegant plaster ceiling rose is an easy way to transform any house room into a showpiece. The outcomes will appear professional and wow your guests if you follow the abovementioned steps.
In addition, a plaster ceiling rose is an enduring and valuable addition to any room, whether you’re restoring an older home or want to make your present area more beautiful. If that’s the case, then why bother? Turn your house into a stylish retreat by starting today’s DIY home renovation project.